Trending

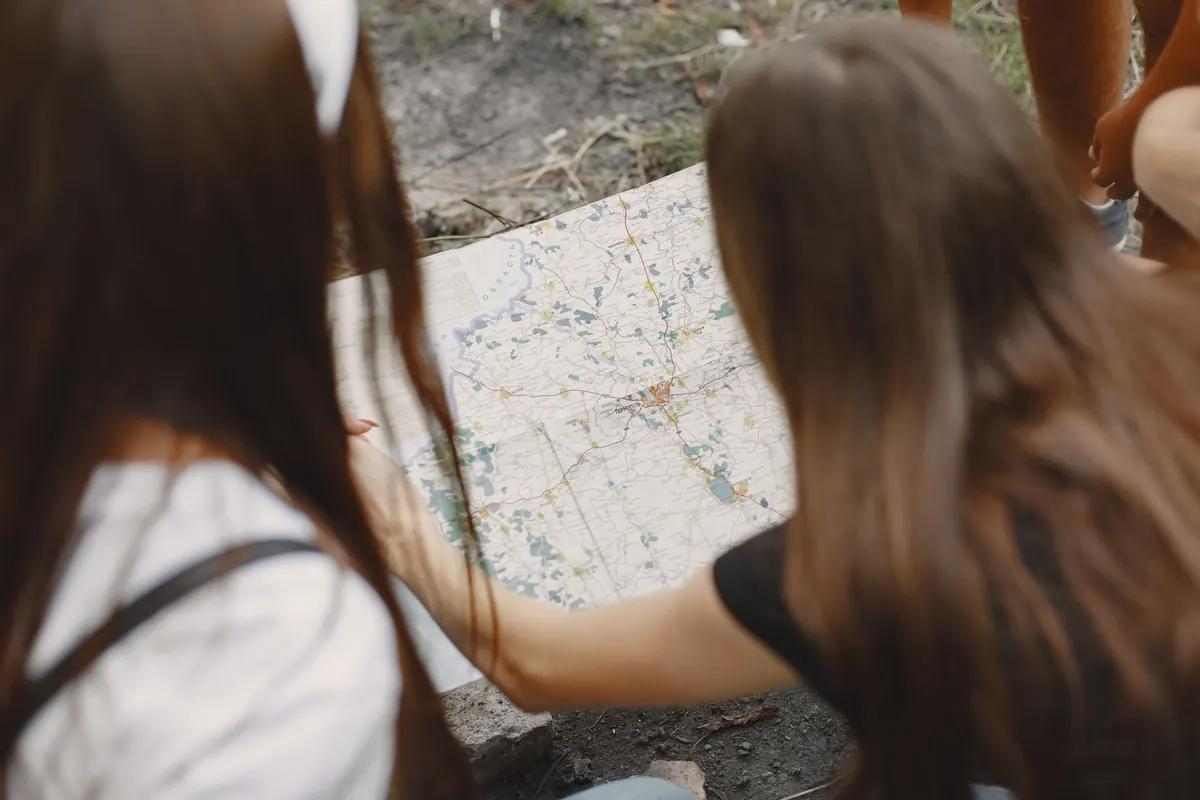
Most fell days begin and end at the same car park, which is why the circular route is the most satisfying shape in walking. You cover twice the ground, you never have to solve the problem of the return leg, and the ridge you climbed in the morning looks entirely different when you see it from the far side of the valley. Building that loop from public footpaths, bridleways and access land takes an hour at the kitchen table, but that hour is almost always more enjoyable than a mile of retracing your steps.
The temptation is to pick the high point first and worry about the rest later. Work the other way round. Fix your start — a car park, a road end, a bus stop — and note its grid reference. Then ask what shape the land actually allows. Fells rarely give you a neat circle; they give you ridges, spurs and valleys, and the best loops run up one side and down the next.
A useful first sketch: go up a spur, traverse a stretch of high ground, come down a different valley. If the only line off the summit is the one you came up, you have a there-and-back walk, not a circuit, and no amount of shuffling lines on the map will change that. Better to spot it now than at the top.
In England and Wales, the lines on a map are not all the same thing, and the differences matter when you are joining two valleys together.
The definitive map is held by the local highway authority and is usually published on the council website, sometimes with an interactive viewer. Treat a line marked simply as a path with caution until you know its status. Scotland works differently, with a broad right of responsible access, but the practical point holds: build your route on lines you can walk with confidence, and if you are unsure about a specific link, the rights of way team at the council or national park authority is the right place to ask.
Junctions are where routes succeed or fail. Every time your planned line meets a wall, a fence, a stream or a field corner, you need to know exactly what happens next: which side of the wall, which gate, which bank of the beck. A route that looks continuous at 1:50,000 can dissolve into three separate field paths at 1:25,000.
Then look for handrails — features you can follow when the cloud comes down. A wall running to a col, a stream tumbling down a valley, a ridge line, a forest edge. A loop stitched together from handrails is far more robust than one that depends on spotting a faint trod across open moor in poor visibility. Where a path crosses a stream, check whether the map shows a footbridge or nothing at all; stepping stones have a habit of vanishing after heavy rain.
Step five is the one people skip. Reading a route backwards is a different exercise from reading it forwards, and the descent is where most wrong turns happen — usually because you are tired, the light is going, and the path you need is the one that isn't obvious.
Distance and ascent are the easy numbers. Measure the route, total up the contour crossings, then estimate your day. A rough rule of thumb is to allow around 4 km/h on easy ground plus a minute for every 10 metres of ascent, then add 20 to 30 per cent for rough terrain, gates, stiles and stops. A 12 km loop with 700 metres of climb will take most people longer than they expect, especially in winter.
Next, check the things that genuinely change your day: temporary closures or diversions on the council's rights of way pages, recent reports from other walkers, and the state of any river crossing. If a route crosses farmland, plan around seasonal hazards such as cattle with calves, which are best given a wide berth. Where you can, build in a version that avoids the highest ground in case the weather turns.
Route plans fail at the seams. A stile that has rotted through, a gate tied shut, a signpost missing, a farmyard that has been rearranged — any one of these can turn a clean circuit into an unplanned trespass or a long detour. A few checks before you go make all the difference:
Take the map and a compass even if the route is on your phone, and carry a paper copy of the key junctions. Leave the route and your expected finish time with someone at home. Follow the Countryside Code: close gates behind you, keep dogs under close control around livestock, and stick to the path across crops. If you are walking in upland terrain in poor conditions and are unsure about access or safety, seek advice from the national park authority, mountain rescue team or a qualified instructor rather than guessing.
Finally, write down what you found. Note the junction you missed, the gate that sticks, the descent that took longer than planned. A loop that has been walked once and corrected is worth more than a dozen lines drawn hopefully on a screen.
Photo: Gustavo Fring / Pexels